Lately, I have spent quite a few time restauring and modifying different kinds of drums. I never did that before, so I learnt along the way, trial and error, and one of the first things I realized was having the right tools is C-R-U-C-I-A-L. I have bought many, which made my life easier, but one in particular, specific for drum building, is a must: a rotating tray.
There´s a "Lazy Susan" in IKEA under the name of SNUDDA which I used as the base for my rotating thing. It costs the prohibitive price of 5,50€...
As its diametre doesn´t accomodate 16" or larger shells, first thing I did was adding an extended surface so I could work with bigger drums. I used a 50x50cm board on top of the IKEA tray, carefully aligning both centres so as not to get eccentricity and the whole thing rotating funny...
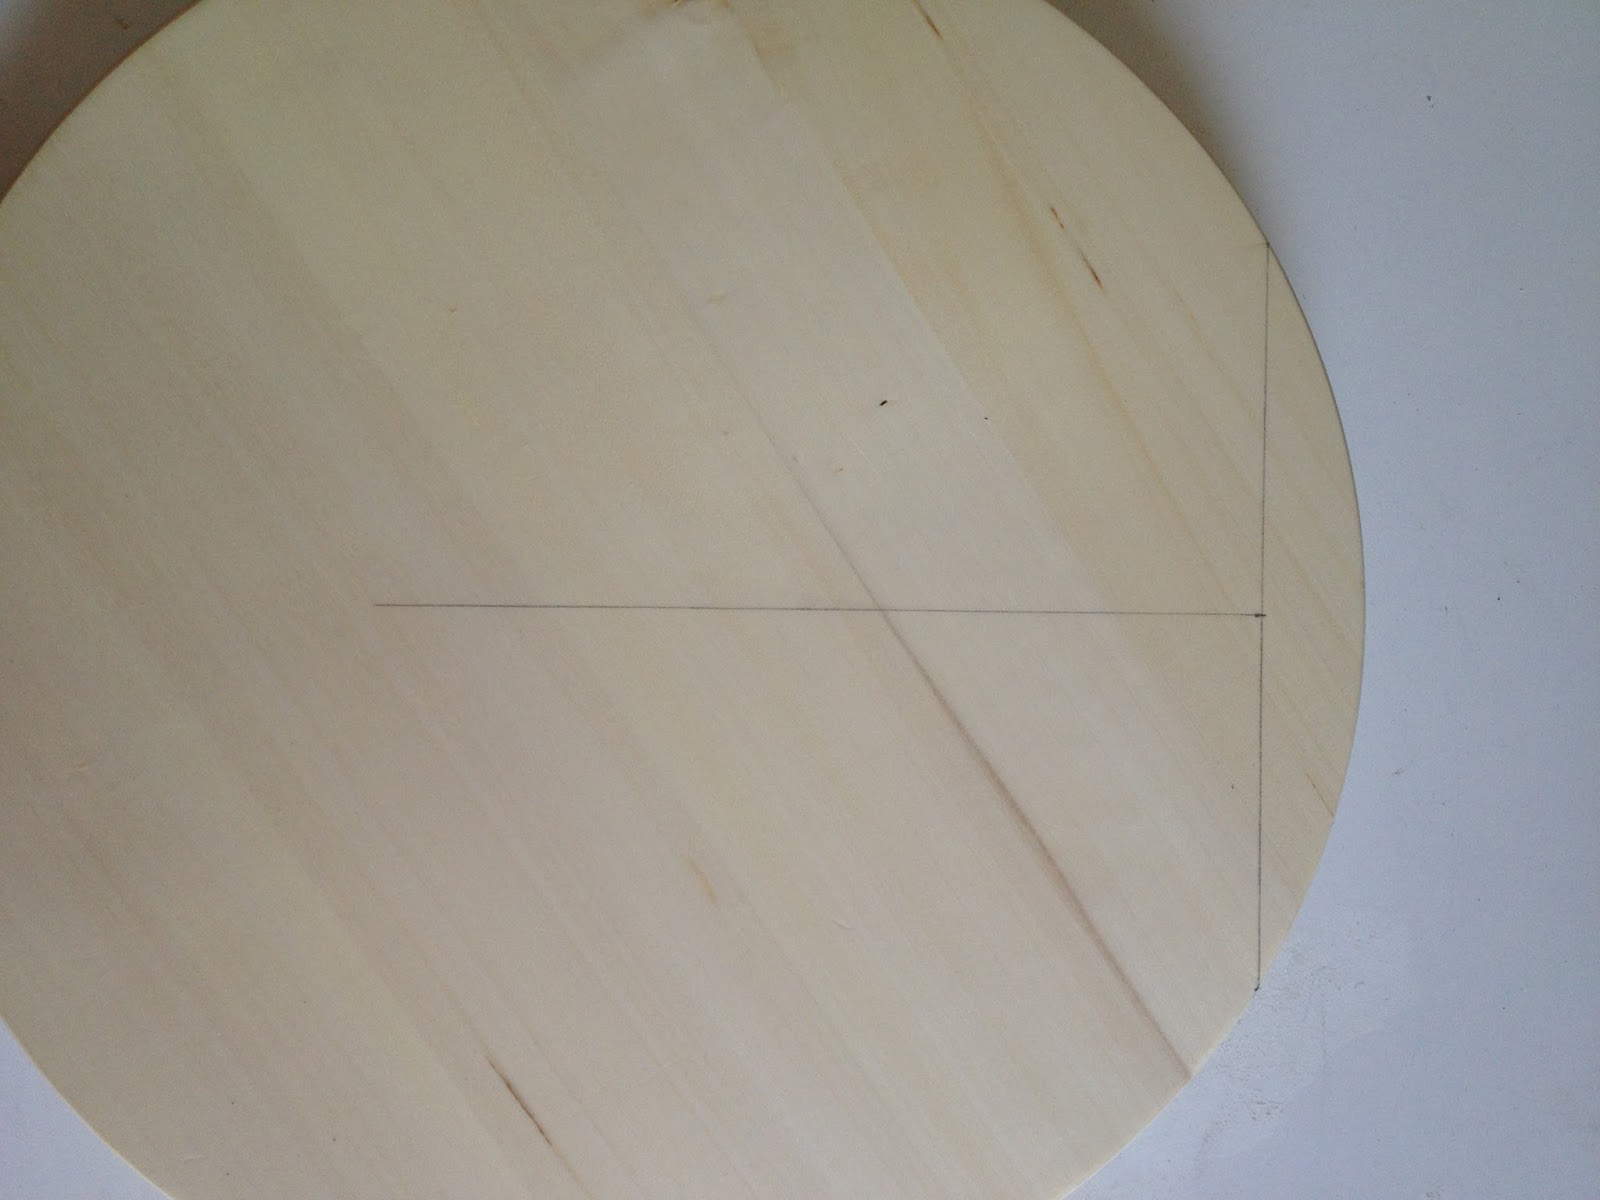
So, first thing was finding the centre of the SNUDDA. For that, I draw a chord 20cm. long (I chose that particular lenght in order to easily draw the perpendicular bisector without using a compass, as the lines would be outside the tray). Once I have my 20cm. chord, drawing its perpendicular bisector is easy, as I know it´s on the 10cm. mark.
Then I did exactly the same with another chord (where you draw them or their lenght is irrelevant: you can draw them wherever you want and as long or shot as you fancy). The point where the two perpendicular bisectors cut is our centre.
Once I know where the centre of our base is, I searched for the one on the "extending board", a conglomerate one measuring 50x50cm. (you can cut it bigger should you want to work with 18", 20" or 22" bass drums... At the moment I don´t need it that big, so I´m ok with this size).
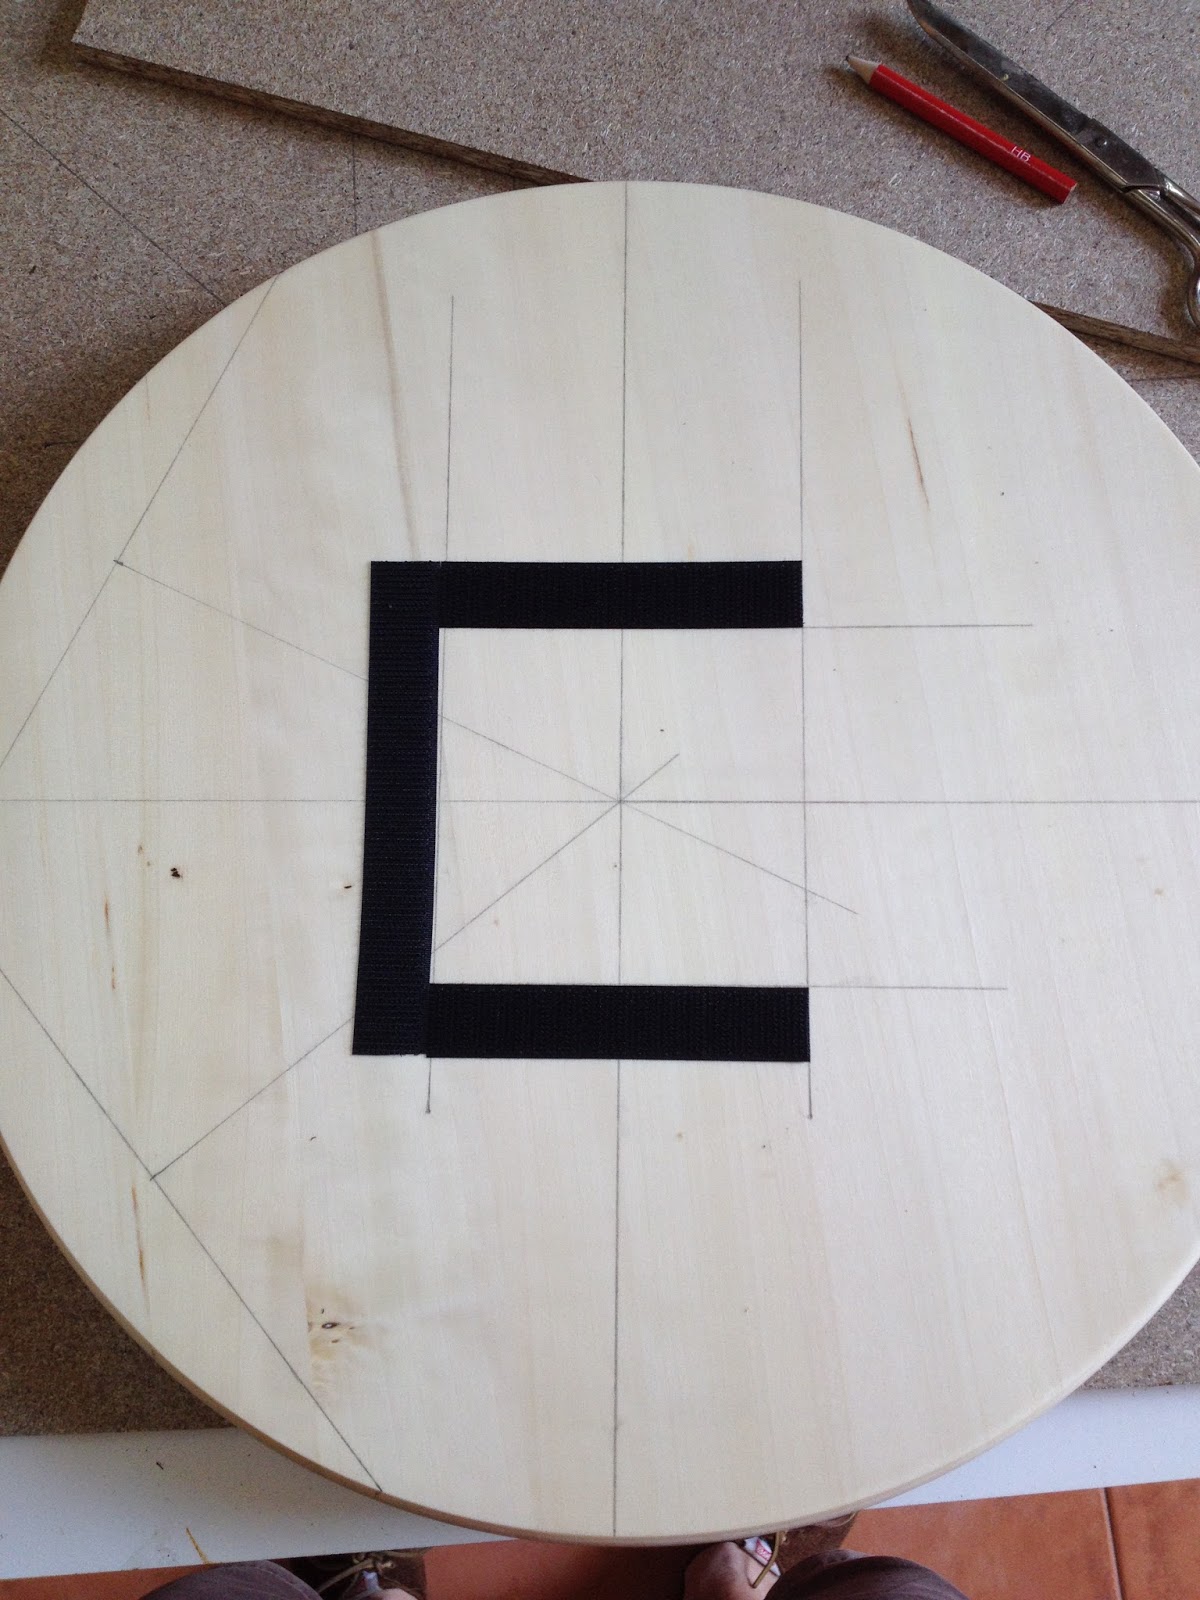
Then, using the excess battens I got when cutting the board as my parallels drawing rulers, I draw a center line and two parallels 5cm. above and below it. I did the same again rotating the board by 90º.
I did exactly the same on the IKEA thing, but using the corresponding velcro to the one I already used on the board (pretty obvious, as if I use the same kind on both surfaces they would not stick together).
Why the velcro? The SNUDDA is made of two pieces already drilled in the centre, and I didn´t want to drill again, make the holes match perfectly, buy a screw, a drill, make a countersink... I already had the velcro (you may remember the "That damn vibraphone chord" article) and, with this solution, I can easily separate both parts whenever I want to).
Next thing is to put a layout mat on it so I can measure angles for lugs, shell sizes, distances for snare beds... But that´s for another day... ;-)
The "Lazy Susan" was 5,50€ in IKEA, and the board 4,50€ in Leroy Merlin (and I got two 50x50 pieces!). Total: 10€ for a fundamental piece if you want to believe you are a real luthier :-D.


No comments:
Post a Comment